Introduction
Installing pre-hung doors can be a daunting task for homeowners, but with the right guidance and tools, it can be a rewarding DIY project. Pre-hung doors come with the frame already attached, making the installation process easier compared to traditional doors. In this step-by-step guide, we will walk you through the process of installing pre-hung doors, providing valuable insights and tips along the way.
What You Will Need
| Tools | Materials |
|---|---|
|
|
Step 1: Measure and Prepare
The first step in installing a pre-hung door is to measure the rough opening. Use a tape measure to measure the width and height of the opening, ensuring accuracy. It's crucial to measure the opening at multiple points to account for any irregularities.

Once you have the measurements, compare them to the dimensions of the pre-hung door you have purchased. The door should be slightly smaller than the rough opening to allow for adjustments and shimming. If the door is too large, it will need to be trimmed down to fit.
Step 2: Remove the Old Door and Frame
If you are replacing an existing door, you will need to remove the old door and frame before installing the pre-hung door. Start by removing any trim or molding around the door using a pry bar or a hammer and chisel. Take caution not to damage the surrounding walls or flooring.
Once the trim is removed, you can proceed to remove the door from its hinges. Unscrew the hinges from the frame, and carefully lift the door out of the opening. Next, remove any screws or nails securing the frame to the wall. Use a pry bar or hammer to gently pry the frame away from the wall, taking care not to damage the surrounding structure.
Step 3: Prepare the Opening
Before installing the pre-hung door, it's important to prepare the opening to ensure a proper fit. Start by cleaning the opening and removing any debris or old caulking. Inspect the opening for any structural damage or rot, and make any necessary repairs before proceeding.
Next, check the opening for level and plumb. Use a level to ensure that the opening is straight vertically and horizontally. If the opening is not level, you may need to use shims during the installation process to adjust the door's position.
Step 4: Install the Pre-hung Door
Now it's time to install the pre-hung door. Begin by placing the door unit into the rough opening, ensuring that it is centered and level. Use shims to adjust the door's position if necessary, placing them between the frame and the opening.
Once the door is positioned correctly, secure it in place by driving screws through the frame and into the surrounding structure. Be sure to use screws long enough to penetrate the frame and reach the wall studs or support structure. This will ensure a secure and stable installation.

After securing the door, check for proper operation. Open and close the door to ensure it swings freely and latches correctly. Make any necessary adjustments to the shims or screws to achieve proper alignment.
Step 5: Finish and Trim
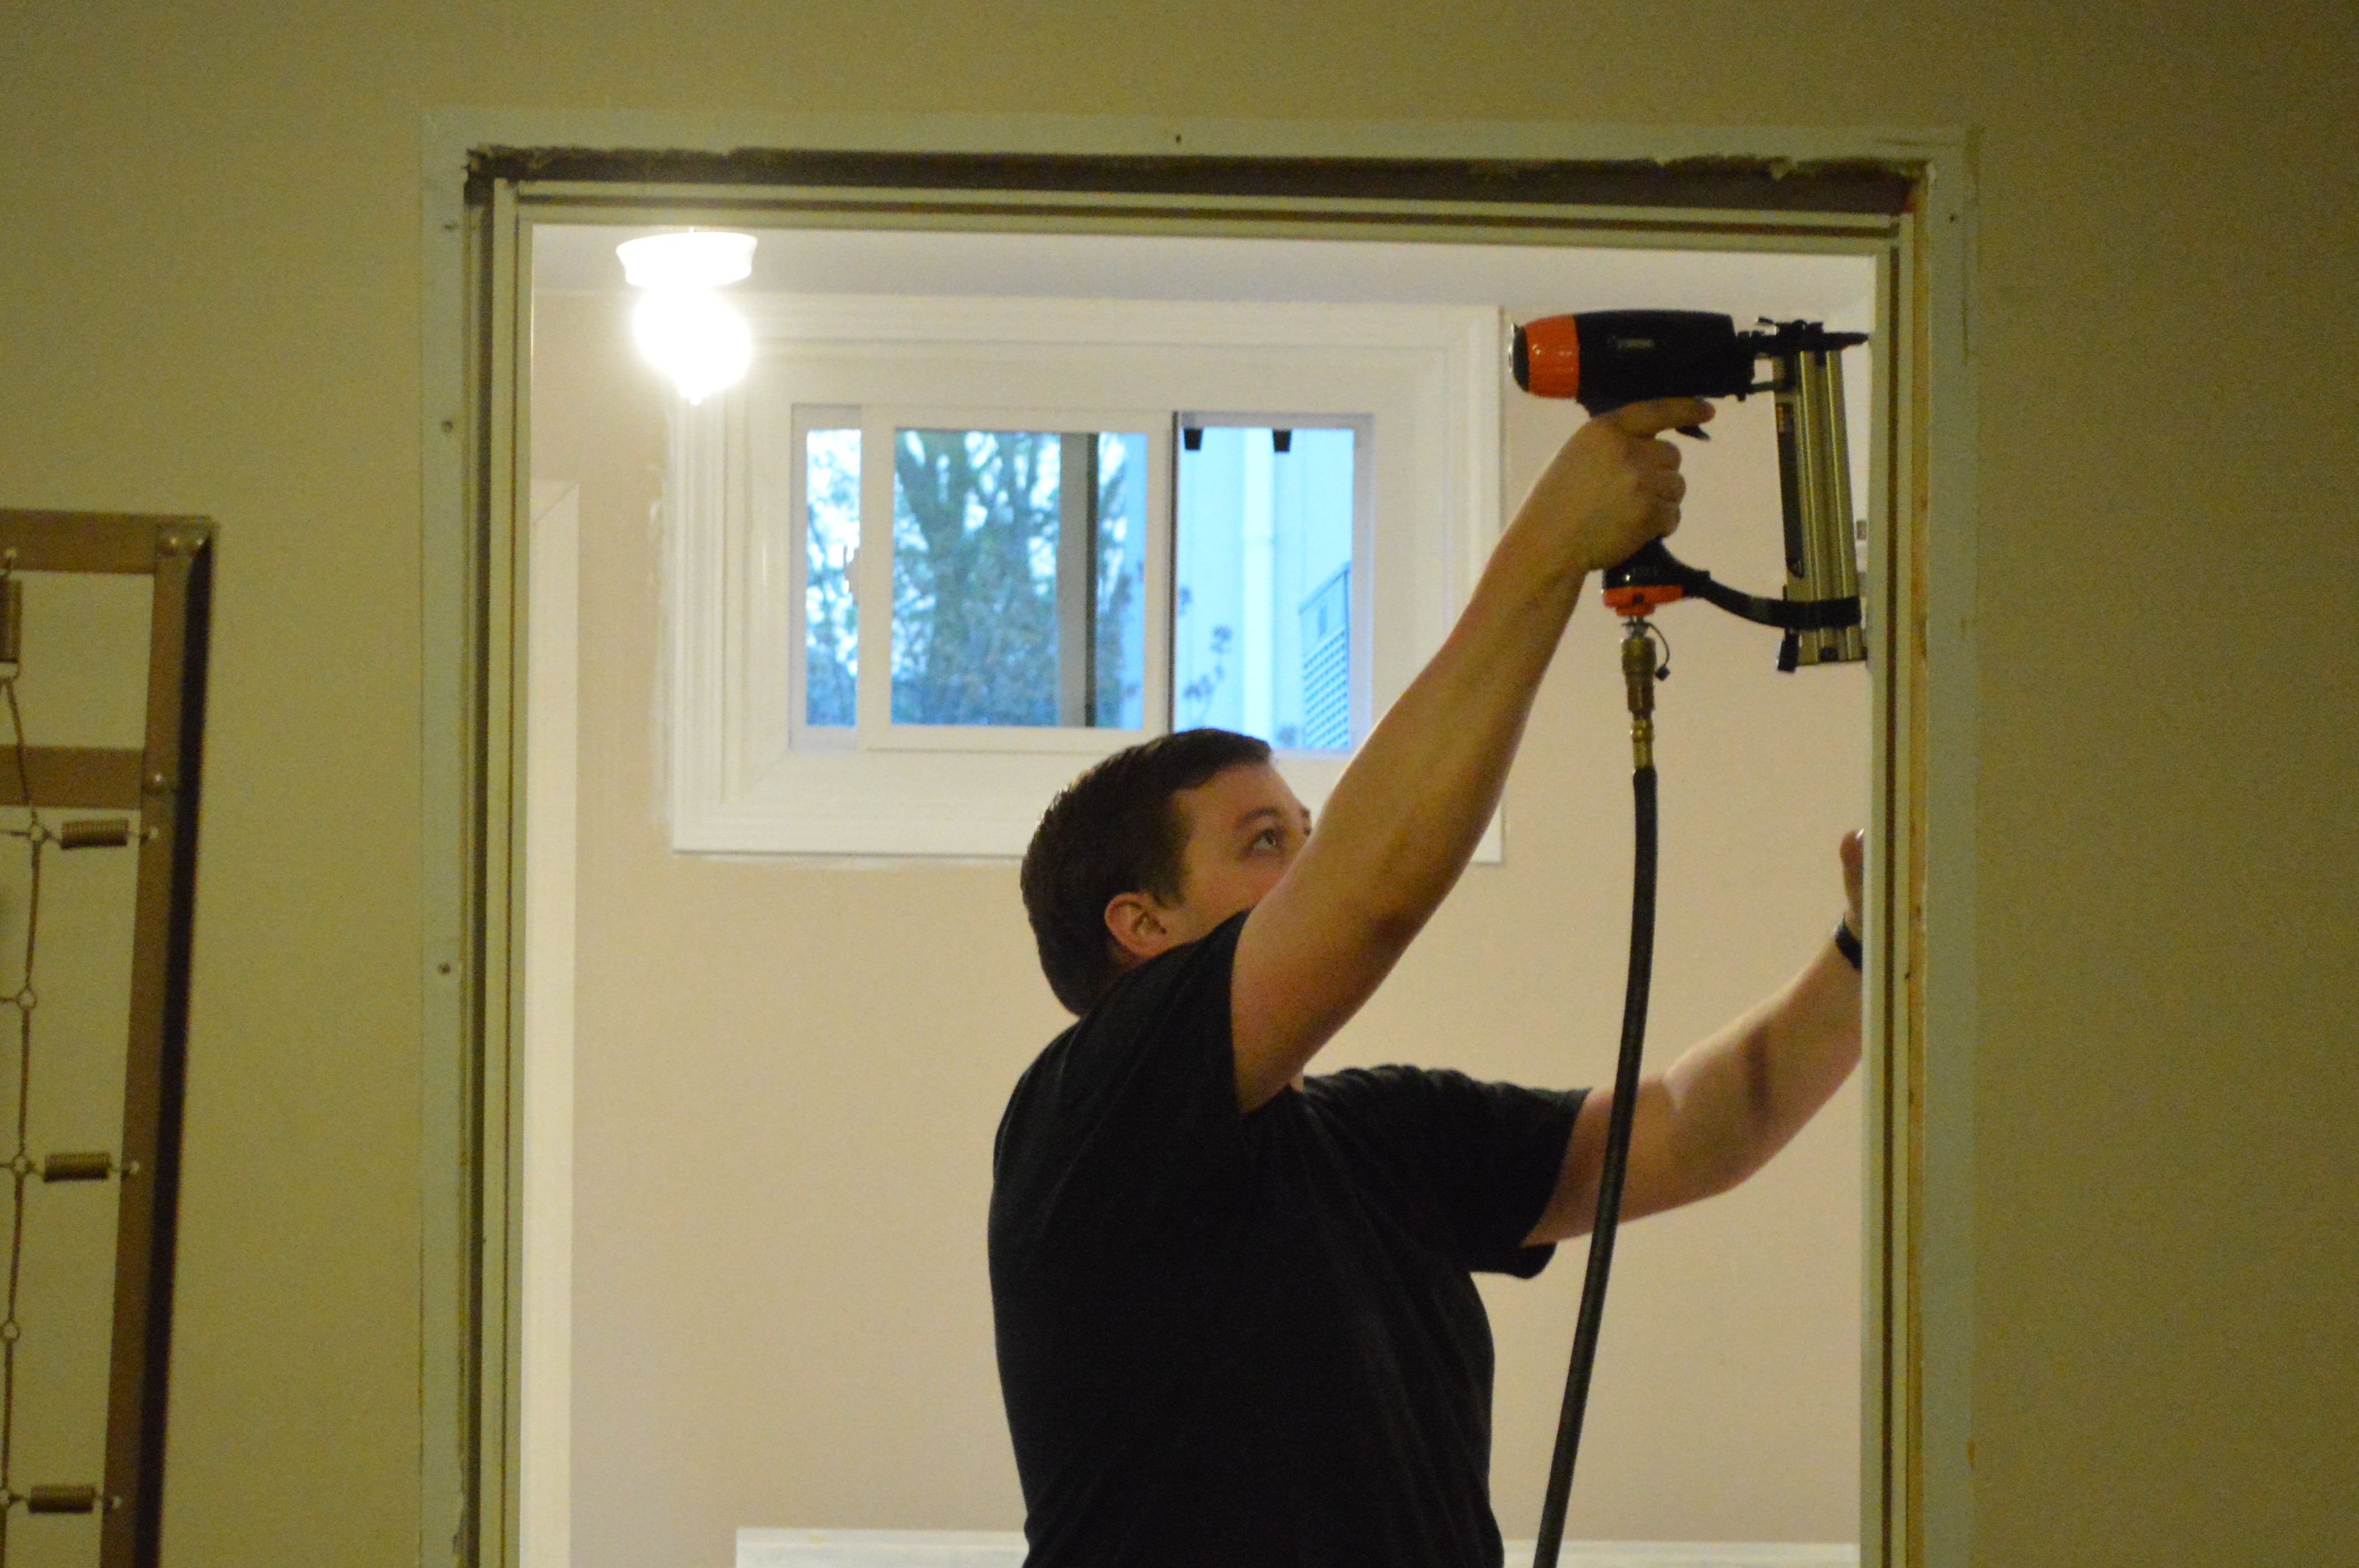
With the pre-hung door securely installed, it's time to finish and trim the door. Start by installing any trim or molding around the door. Measure and cut the trim to fit, then attach it to the door frame using finishing nails or a pneumatic nail gun.
Once the trim is in place, fill any gaps or nail holes with spackle or wood filler. Allow the filler to dry, then sand it smooth for a seamless finish. You can then paint or stain the door and trim to match your desired aesthetic.
Summary
Installing pre-hung doors can be a challenging task, but with the right tools and knowledge, it is a project that many homeowners can tackle. By following this step-by-step guide, you can confidently install a pre-hung door and enhance the functionality and appearance of your home.
Remember to measure and prepare the opening, remove the old door and frame, and properly install the pre-hung door. Take your time during the installation process, ensuring that the door is level, plumb, and securely fastened. Finish the project by adding trim and applying the desired finish.
With these steps in mind, you can successfully install pre-hung doors and enjoy the satisfaction of a job well done.